
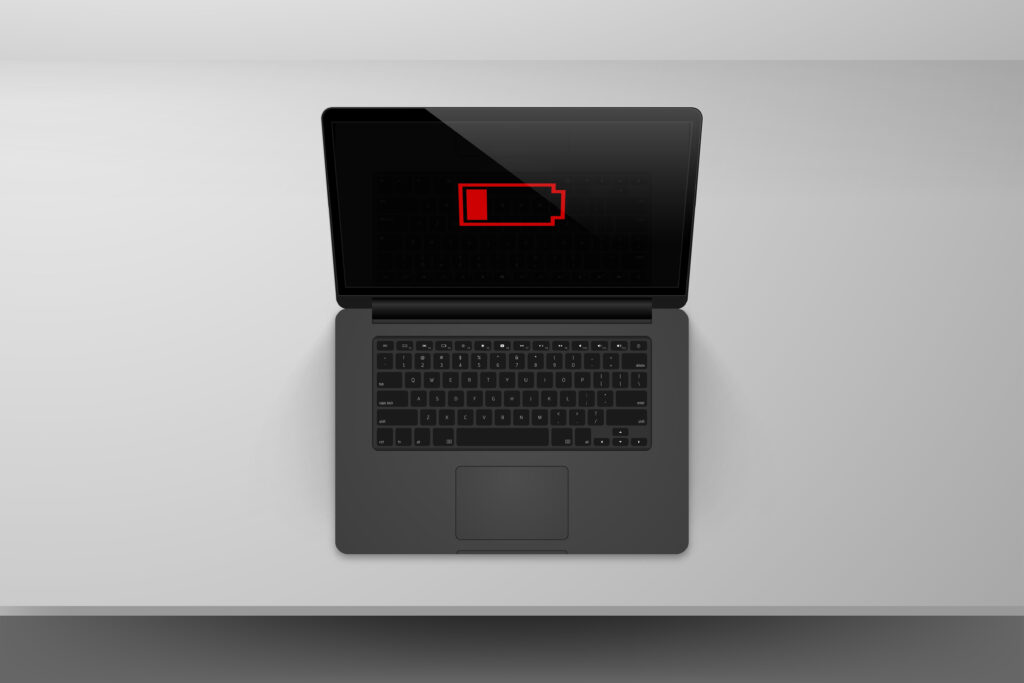
The internal battery in a laptop is an essential component that powers the device when it's unplugged from the power outlet. Over time, the battery's performance can degrade, which can lead to a shorter lifespan and reduced capacity. If your laptop's battery is no longer holding a charge, it may be time to replace it. In this blog, we will walk you through the steps to replace an internal laptop battery.
Step 1: Get the Right Battery
The first step is to purchase a replacement battery that is compatible with your laptop. To ensure you get the correct battery, look up your laptop's make and model and search for a compatible battery online. You can purchase batteries from various online retailers or your laptop manufacturer.
Step 2: Power off Your Laptop
Before attempting to replace the battery, turn off your laptop and unplug it from the power outlet. This will ensure that there is no risk of electric shock or damage to your laptop.
Step 3: Remove the Back Cover
Most laptops have a back cover that can be removed to access the internal components, including the battery. Look for screws on the bottom of the laptop and unscrew them. If you're not sure which screws to remove, consult your laptop's manual.
Step 4: Remove the Old Battery
Once you have removed the back cover, you will see the battery attached to the laptop. The battery will be connected to the laptop by a cable or clip. Carefully unclip the battery or disconnect the cable, being mindful not to damage any wires or other components.
Step 5: Install the New Battery
Take the new battery out of the packaging and connect it to the laptop. Ensure that the battery is connected securely to the laptop and that all clips and cables are properly attached. Replace the back cover and screw it back in place.
Step 6: Charge the New Battery
Once you have installed the new battery, plug in your laptop to charge the battery fully. The time it takes for the battery to charge fully depends on the battery's capacity and the laptop's charging speed. It is recommended to charge the battery fully before using it.
Step 7: Calibrate the New Battery
After the new battery has been charged, it is recommended to calibrate it. Calibration helps the battery to establish its maximum capacity and can increase its lifespan. To calibrate the battery, disconnect the power cord and let the battery drain completely. Once the battery is fully discharged, connect the laptop to the power outlet and charge it fully.
In conclusion, replacing the internal battery in a laptop is a simple process that can significantly improve your laptop's performance. By following the steps outlined above, you can replace the battery and extend the lifespan of your laptop. If you're not comfortable with performing the replacement yourself, consider taking it to a professional to have it replaced.